Tired of logos that look great on screen but flop on fabric? Digitizing your logo for embroidery online turns simple images into stitch-ready files your machine loves. This guide shows easy steps, free tools, and smart choices to get pro results fast—perfect for small businesses or hobby sewers wanting custom shirts, hats, or bags that wow customers.
Why Digitize Logos for Embroidery?
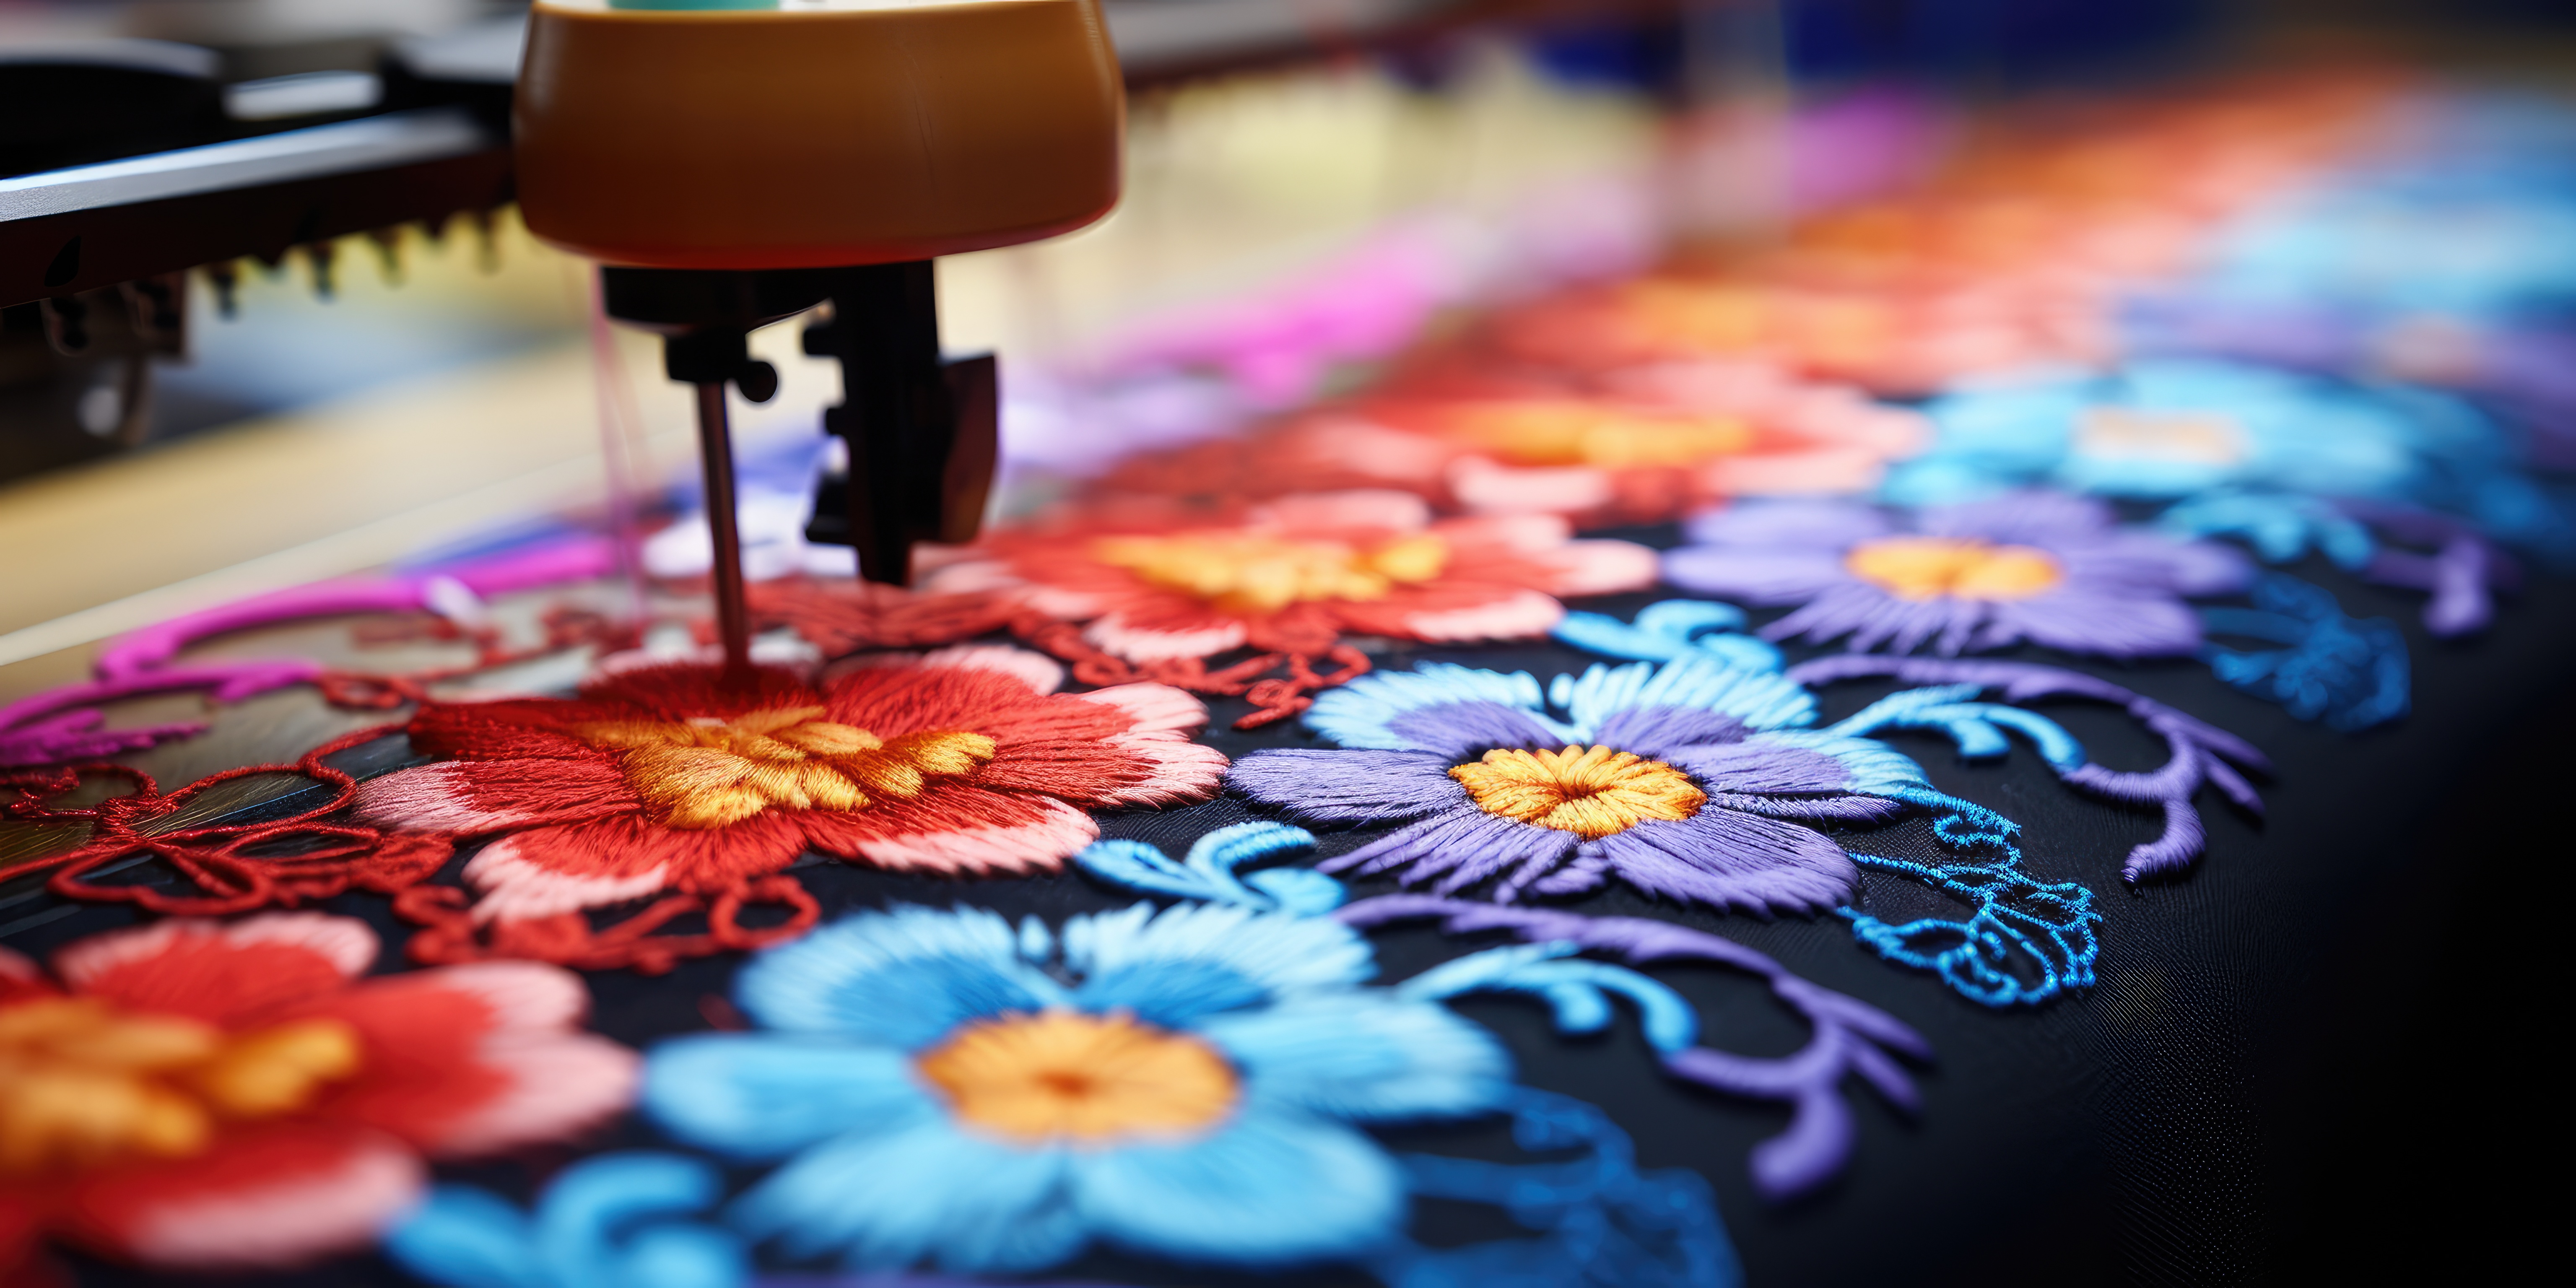
Plain images like JPGs or PNGs won’t work on embroidery machines—they need special files like DST, PES, or EXP that tell the machine where to put each stitch. Digitizing fixes that by mapping colors to threads, setting stitch types, and planning the order to avoid messy pulls or breaks. That’s why you need to learn how to digitize logo for embroidery online—it saves money too. Skip printing errors or reprints by testing digitally first. Businesses use this for branded uniforms, events, or merch that stands out and sells.
Key Steps to Digitize Logo for Embroidery Online
Follow these simple steps anyone can do—no fancy skills needed. Start with a clean logo (simple shapes, few colors work best).
Prep Your Logo: Open in free software like Inkscape. Crop extras, simplify details, and save as SVG for sharp lines. Avoid busy gradients—they turn to thread blobs.
Pick a Tool: Use free online options or downloads (more below). Upload your file to digitize logo for embroidery online.
Trace and Outline: Auto-trace turns shapes into paths. Adjust for smooth curves.
Add Stitches: Set fill for big areas, satin for edges, running for lines. Match thread colors.
Preview and Export: Check 3D view for gaps or overlaps. Save as machine file.
Test First: Stitch sample on scrap cloth to check results. Tweak density if puckers show.
These steps take 30-60 minutes for basic logos. Practice on simple ones first to master digitize logo for embroidery online!
For complex stuff, free trials of pro software like Wilcom beat limits.
| Tool | Pros | Cons | Best For |
| Ink/Stitch | Free forever, full features, multi-format export | Needs download & learning | All logos, pros/hobby |
| Pixel Stitch | No install, fast web use | Hand patterns only, no DST | Simple tests |
| Brother BEaaS | Cloud quick, Brother ready | PES only, basic logos | Brother machine users |

Pros and Cons: DIY vs Hiring Help
DIY digitizing saves cash but takes time. Pros handle tricks you miss.
DIY Pros:
- Zero cost with free tools.
- Full control—change anytime.
- Learn skills for future jobs.
DIY Cons:
- Time sink (hours per logo).
- Risky results: breaks, puckers.
- Steep start for fancy designs.
Pro Service Pros:
- Perfect files fast (4-24 hours).
- Handles details like 3D puffs.
- Free edits often.
Pro Service Cons:
- Costs $10+ per logo.
- Wait for approval rounds.
| Option | Time | Cost | Quality |
| DIY Free | 1-2 hours | $0 | Good with practice |
| Pro Service | 4-24 hours | $10-50 | Pro level |
Pick DIY for simple repeats, pros for sales merch.
Common Mistakes and Quick Fixes
Don’t rush—bad digitizing wastes thread.
- Too Many Colors: Limit to 6-8. Fix: Merge shades.
- Wrong Density: Puckers? Lower stitches per inch.
- Bad Order: Jumps waste time. Stitch outline first.
- Tiny Details: Skip under 1/4 inch—they blur.
Always preview. Free tools show stitch count to spot issues early.
FAQs
What file types do embroidery machines need? DST, PES, EXP—pick by your brand.
Can I digitize logo for embroidery online free? Yes, Ink/Stitch rocks for that.
How long for pro digitizing? Most 24 hours with quotes.
Conclusion
Digitizing your logo for embroidery online opens doors to sharp, sellable custom gear. Start free with Ink/Stitch steps above, test small, and scale to pros for volume. Your brand will pop on polos and caps—boost sales today with stitches that last. Ready to try?