convert vector to embroidery file turn your clean vector designs into ready-to-stitch embroidery files without hassle. This guide shows you simple ways to do it right for great results on your machine.
Why Use Vector Art for Embroidery?
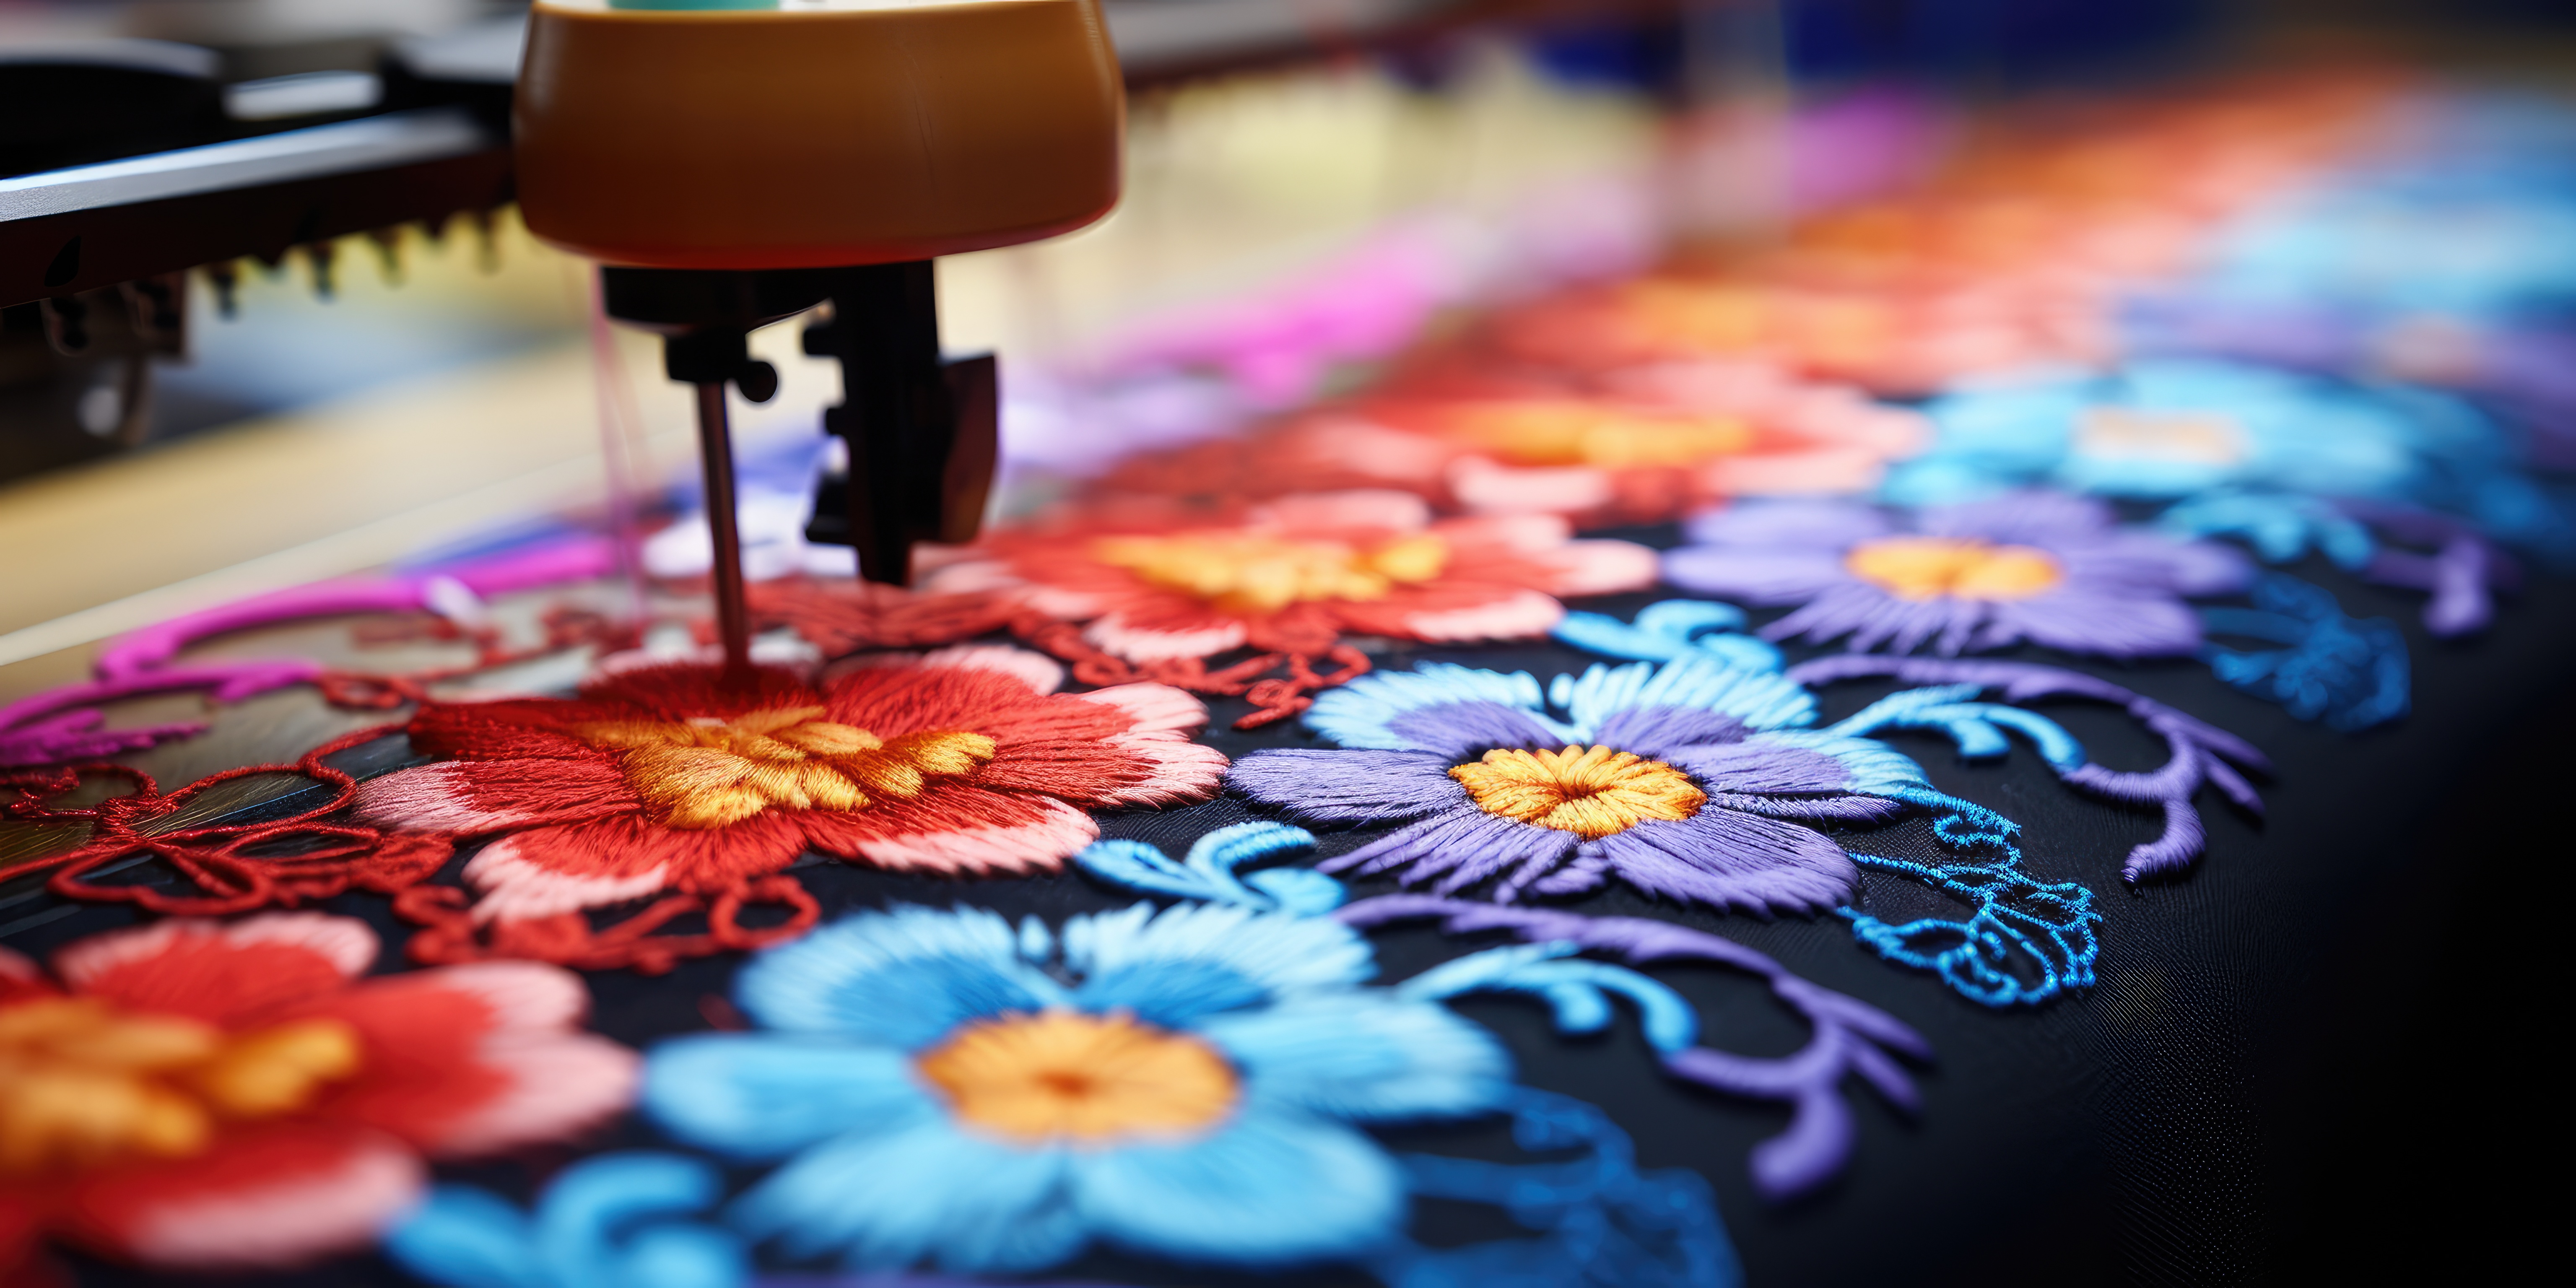
Vector files like SVG or AI keep sharp lines and shapes at any size. They make perfect starting points for embroidery because they don’t get blurry when you resize. Most embroidery software loves them too, saving you time on fixes. You’ll end up with smooth designs that stitch clean every time.
Tools You Need to Start
Grab these basics to convert vector to embroidery file:
- Vector file (SVG, AI, EPS, or PDF).
- Embroidery software like Wilcom Hatch, Embrilliance, or Ink/Stitch (free option).
- Your embroidery machine for testing.
No fancy setup needed – many tools have free trials. Simple software handles the heavy lifting so beginners can jump in fast.
Step-by-Step: Convert Vector to Embroidery File
Follow these easy steps to change your vector into a stitch file.
- Open Your Vector File: Load the SVG or AI into your software. It pulls in shapes clean.
- Prep the Design: Resize to fit your hoop (say 4×4 inches). Turn text to outlines so it stays sharp.
- Pick Stitch Types: Choose fill for big areas, satin for edges, run for lines. Software auto-suggests good ones.
- Set Density and Pull: Keep density at 0.4mm for most fabrics. Add 1-2mm pull comp to stop gaps.
- Add Underlay: Place light stitches first for stability on thick stuff like fleece.
- Preview and Save: Check the stitch sim, then export as DST, PES, or JEF for your machine.
Test on scrap fabric first. Takes 10-20 mins once you get the hang.

Pros and Cons Table
| Pros | Cons |
| Keeps designs crisp at any size. | Needs software – not fully automatic. |
| Easy to edit shapes before stitching. | Small details may need tweaks. |
| Saves time over full redraws. | Learning curve for new users. |
| Works with most embroidery machines. | Complex gradients don’t convert well. |
Common Mistakes to Skip
Don’t skip underlay – designs pucker without it. Avoid thin lines under 1mm; they break threads. Match colors to your thread chart early to dodge swaps later. Resize after you convert vector to embroidery file, not before, to keep stitches right. These fixes make your vector to embroidery file switch smooth.
Preparing Artwork for Embroidery
Get your vector files embroidery-ready to easily convert vector to embroidery file with these simple fixes that save time and money.
Start Clean: Open your SVG/AI file in Inkscape or Illustrator. Delete background shapes, extra text, tiny details under 1mm. Simple = better stitches.
Convert Text to Shapes: Select all text → “Create Outlines” or “Object to Path”. Fonts must become shapes—machines can’t read letters.
Simplify Paths: Too many points = messy stitches. Select shapes → “Simplify Path” until smooth curves (50% fewer nodes). Test: zoom 800%—no jagged edges.
Close All Shapes: Open paths confuse software. Click path → “Path” menu → “Close Path” or Ctrl+Shift+C.. Every shape must be 100% closed.
Color Limits: Max 8 thread colors. Group same colors together. Label layers: “Red Fill”, “Black Outline”, “White Text”.
Minimum Sizes:
| Element | Must Be |
| Text height | 6mm+ |
| Line width | 1mm+ |
| Small details | 3mm+ gaps |
| Total colors | 8 max |
Final Export: Save as SVG 2.0. Flatten artwork. Design at final embroidery size (4×4″, not scalable). Send clean file + thread color chart.
Quick Test: Import to Ink/Stitch → preview stitches. Gaps/jumps = fix vector first.
Clean vectors = perfect first stitches. Skip this = digitizer charges extra $20-50 cleanup. Prep now, save later!
Best Software Picks for Beginners
- Ink/Stitch (Free): Great for SVG to embroidery. Open source and simple.
- Embrilliance Essentials: Cheap, user-friendly, handles vectors well.
- Wilcom Hatch: Pro level but easy trials for vector imports.
Start free to practice your keyword “convert vector to embroidery file” workflows. They all support LSI like vector artwork to embroidery design basics.
FAQs
What formats work best to convert vector to embroidery file?
SVG, AI, EPS, PDF – most software imports them clean.
Can I do it without buying software?
Yes, try free Ink/Stitch for basic vector to embroidery file jobs.
How long does converting take?
10-30 minutes for simple designs after setup.
Will small text stitch okay?
Convert to curves first; keep over 30mm high for clear results.
What if my design puckers?
Add underlay stitches and lighten density.
Conclusion
Now you know how to convert vector to embroidery file like a pro. Save time, get sharp stitches, and make custom designs fast. Start with a simple vector today – your machine will thank you. Order pro help if stuck for perfect output every time.